
So you wanna know how to make blinkies right? Well, heres a simple guide to show you how!!
Programs you will need: Animation shop
*Note* you can download animation shop free at www.jasc.com
Step by step guide
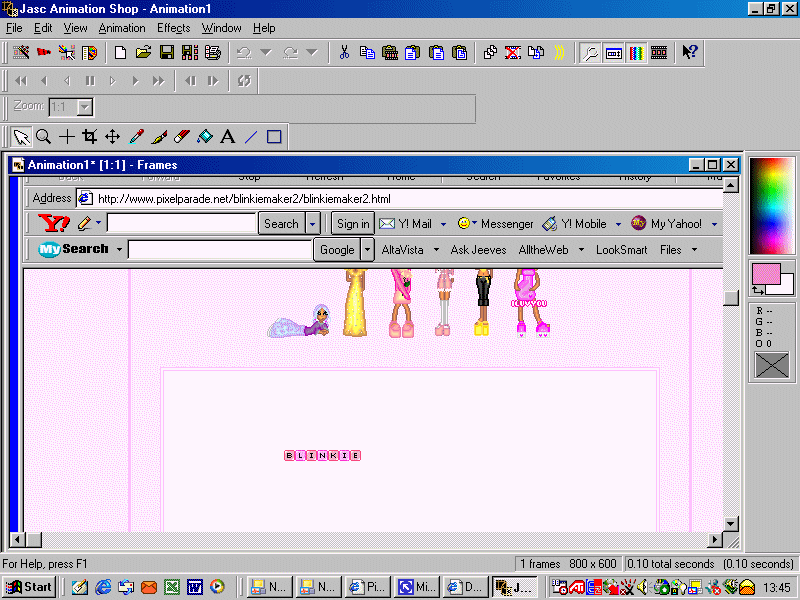
First of all, you need to open up a blinkie maker. (Soon I will be getting a blinkie maker but for the time being, you can search for 'blinkie makers' in a search engine to use their blinkie makers!)
Once you have designed a blinkie in the blinkie maker, press print screen (next to F12 on your keyboard) and open up animation shop. Once in animation shop, press Ctrl + v to make the blinkie maker page appear.
After, press the crop button
![]() and cut out your blinkie
from the rest of the page. Then double click inside the cut you have just made
to completely cut out the blinkie.
and cut out your blinkie
from the rest of the page. Then double click inside the cut you have just made
to completely cut out the blinkie.
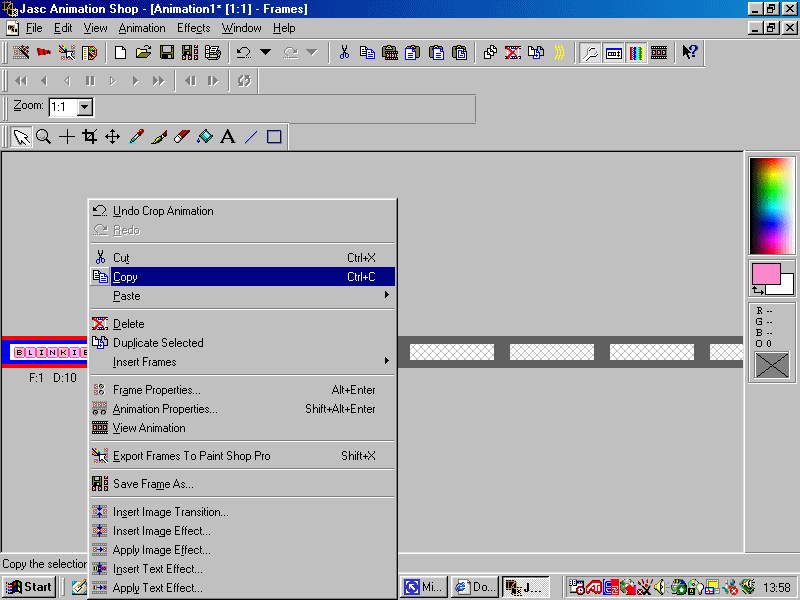
Then, click back on the mouse button
![]() , right click on your
blinkie and click on copy.
, right click on your
blinkie and click on copy.
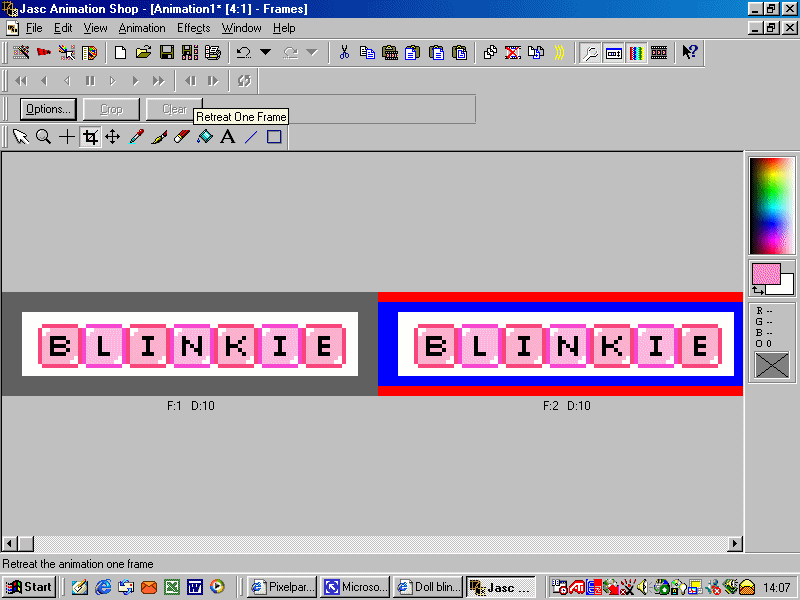
Then press the 'paste after current' button in the top right
corner ![]() Then zoom in
using the 'zoom' button
Then zoom in
using the 'zoom' button ![]() until your blinkie is really big like this:
until your blinkie is really big like this:
Now, select the 'flood fill' tool
![]() . Using the colour chart
. Using the colour chart
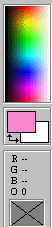 , select the colour white
(or as near to white as you can get).
, select the colour white
(or as near to white as you can get).
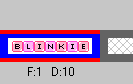
Now fill in the letters of your SECOND blinkie with the white colour. When you have done that, your blinkie should look like this:
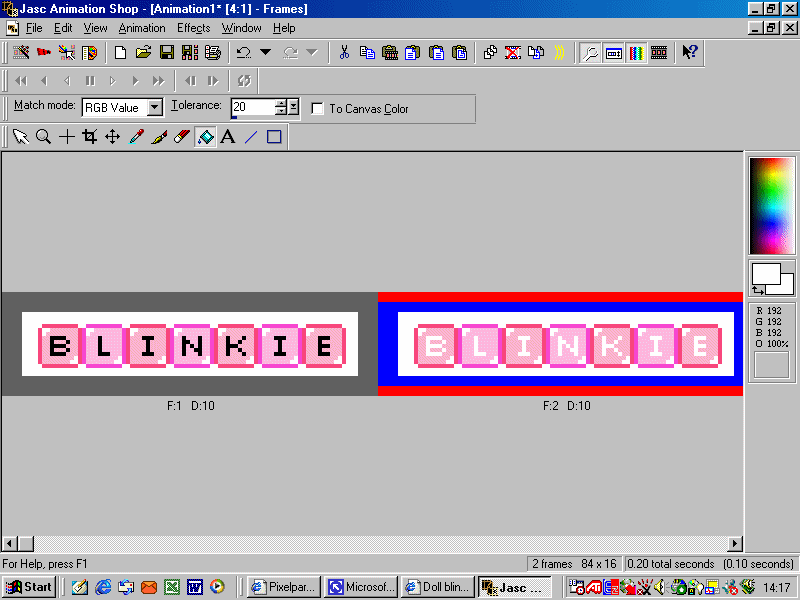
Now, click back onto the mouse icon
![]() , right click on your first
image of your blinkie and go down to 'Frame properties'.
, right click on your first
image of your blinkie and go down to 'Frame properties'.
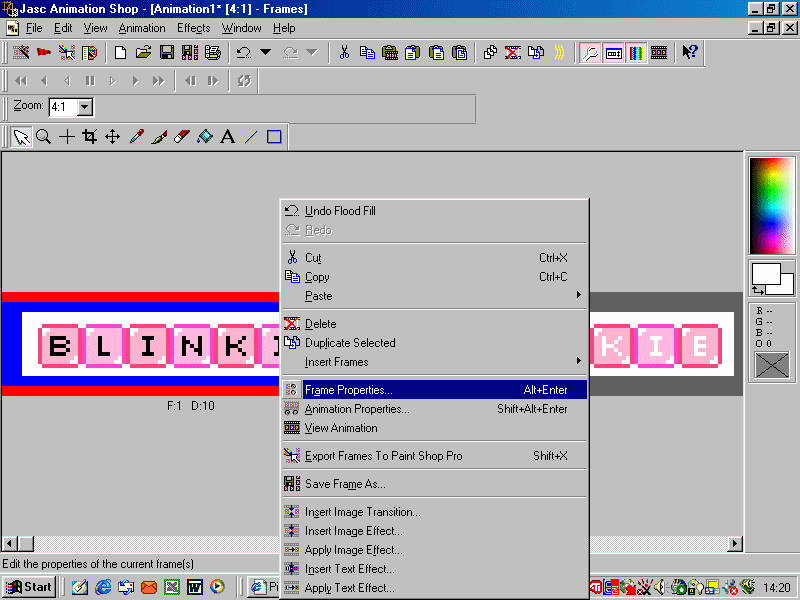
A pop up box should appear that looks like this:
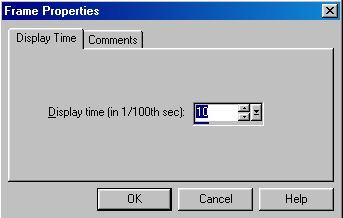
This box indicates the speed that your blinkie will flash. I think a good speed is about 30 so type in the number '30' and press ok.
Repeat this with the second image of your blinkie, right click on the image, go down to 'frame properties', type in the number '30' and press 'ok'.
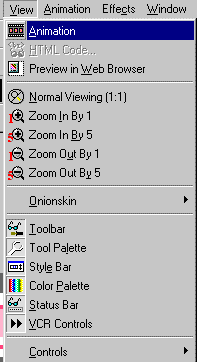
Now view what your blinkie looks like by either pressing this
button ![]() or going to 'View'
then pressing 'animation'.
or going to 'View'
then pressing 'animation'.
And voila! You are done. Now just save your blinkie!! Once finished, your finishing blinkie should look something like this:
![]()